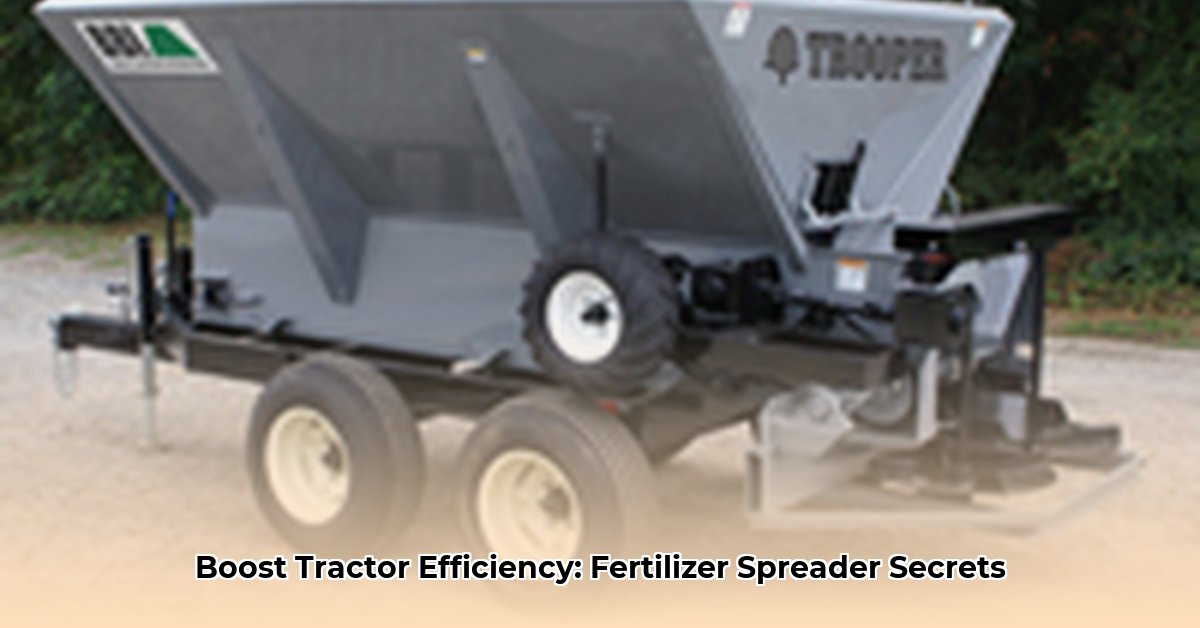
Choosing the Right Pull-Behind Fertilizer Spreader
Getting the most from your tractor involves optimizing fertilizer application. This guide helps you select and effectively use a tow-behind fertilizer spreader, ensuring both efficient operations and sustainable farming practices. Don't let the variety of options overwhelm you; we'll break down the process step-by-step. For more information on lawn tractor spreaders, check out this helpful resource: Learn More.
Understanding Your Farm's Unique Needs
Before selecting a spreader, assess your farm's specifics. What types of soil and crops dominate your acreage? How many acres do you need to cover? A large farm requires a heavy-duty spreader with greater capacity compared to a smaller operation. Furthermore, the type of fertilizer you utilize (pellets, granules, liquids, or organic materials) directly impacts spreader compatibility. Selecting the wrong spreader for your fertilizer type will lead to inefficiency and potential equipment damage. Consider these factors carefully – it's the foundation of a successful fertilizer application strategy.
Key Features to Consider
Several crucial features differentiate pull-behind spreaders. Let's examine the most important ones:
Capacity: The hopper size dictates refill frequency. Larger hoppers translate to fewer trips, saving time and effort. Consider your field size when determining the appropriate capacity.
Spread Width: Adjustable spread widths adapt to varying field conditions, optimizing efficiency by minimizing passes. Wider spread widths generally translate to greater coverage and efficiency.
Calibration: Precise calibration is paramount for even fertilizer distribution, preventing nutrient deficiencies or overuse. Look for a clear, intuitive calibration system. This is critical for both crop health and environmental sustainability.
Build Quality: Invest in a robust, durable spreader constructed from strong materials to withstand farming's demands. Check online reviews to gauge the longevity of specific models.
Ease of Use: A user-friendly spreader minimizes downtime and maximizes productivity. Prioritize ease of filling, adjusting, and cleaning.
Sustainable Fertilizer Application: A Modern Approach
Sustainable farming demands precise fertilizer application. Spreaders with GPS integration enable variable-rate fertilization, applying differing amounts to field areas based on specific needs. This targeted approach minimizes waste and maximizes nutrient utilization. Furthermore, consider the spreader's environmental impact itself. Choose models made with recycled materials or that minimize fuel consumption.
Step-by-Step Guide to Spreader Operation
Calibration: Meticulously calibrate your spreader according to the manufacturer's instructions. This critical step ensures even fertilizer distribution. Incorrect calibration can lead to significant yield losses.
Hopper Filling: Fill the hopper evenly, avoiding overfilling to prevent spillage and ensure consistent spreading.
Setting Adjustments: Adjust spread width and fertilizer rate to match your crop requirements and field conditions. Refer to your soil tests and crop recommendations for optimal settings.
Tractor Attachment: Securely attach the spreader to your tractor's three-point hitch, ensuring stability and safety during operation.
Safe Operation: Strictly adhere to safety guidelines throughout the operation. Always prioritize safety.
Regular Maintenance: Regular cleaning and maintenance extend the lifespan of your spreader and maintain its optimal performance.
Pull-Behind Spreader: Weighing the Pros and Cons
| Pros | Cons |
|---|---|
| Significantly more efficient than manual spreading | Requires a tractor for operation |
| Precise application with proper calibration | Involves an initial investment cost |
| Reduced labor costs | Uneven spreading can occur with improper calibration |
| Adaptable to various fertilizer types | Requires regular maintenance and cleaning |
Calibrating for Organic Fertilizer: A Detailed Approach
Accurate fertilizer application is crucial for both organic and conventional farming. This section focuses on calibrating your spreader for organic fertilizers.
Understanding Your Spreader's Mechanics
Before calibration, understand your spreader's operation. Different spreader types (rotary, centrifugal) have unique calibration methods. Consult your owner's manual for detailed instructions. This is the most important step to ensure accurate calibration.
Calibration Preparation
Gather Supplies: Measuring tape, fertilizer measurement container, level testing area, and your organic fertilizer are essential.
Test Area Selection: Choose a level area of similar size and soil type to your fields to conduct the calibration test.
Swath Width Measurement: Accurately measure the swath width – the area covered in a single pass – and mark the testing area accordingly.
Initial Settings: Start with the manufacturer's recommended settings as a baseline.
Calibration Steps
Weigh the Fertilizer: Measure a known weight (e.g., 5 lbs) of organic fertilizer and record it precisely.
Distance Measurement Spread the weighed fertilizer across the marked testing area, noting the length covered in one pass.
Application Rate Calculation: Use the formula: Application Rate (lbs/1000 sq ft) = (Weight of Fertilizer / Area Covered) * 1000. This calculates the application rate in pounds per 1000 square feet.
Adjustment and Repetition: Compare the calculated rate with your desired rate (from fertilizer packaging or soil tests). Adjust spreader settings and repeat until your calculated and desired rates align.
Fine-Tuning and Monitoring
Maintain a consistent speed during operation to ensure even distribution. Soil type and moisture affect spread; adjust settings accordingly. Regular calibration checks, especially when changing fertilizer types, are crucial for sustained accuracy. Remember, consistent application is key to healthy crops and efficient fertilizer utilization.